How to DIY your Birth Photos
When your birth photographer can’t be there
COVID-19 has put a damper on birth photographers across the country. It breaks my heart that I can't be with you, my wonderful clients, because I know how much you wanted your birth experience documented.
But as I always say...there is always a story to be told! Even if you have to DIY the hospital parts.
I've created a lits of tips to easily grab some great photos of your newborn while you're in the hospital. And if you're one of my clients, send them on over! I'm happy to edit them, and add them to your Year-In-The-Life Story and album!

This photo was captured at night, with hospital lights, and no additional flash. You can do the same with the tips below. Just look for the good light.
NOTE: Don't feel you need a fancy camera for this - You don't! Cell phones are so advanced these days that they will work perfect.
Ready? Here we go!
Daylight is gorgeous! Especially in the morning.
Open the blinds wide and turn off all the lights!
Baby is born at night and you just can't wait? Turn off all but ONE good light that falls across you, not directly overhead. No matter what, turn off the lights that are BEHIND your hospital bed.
Use portrait mode & turn OFF the flash
Tap on the subject on your screen to properly expose on your phone to adjust exposure.
Turn your back or side to the window/light.
This will ensure light falls over your subject, properly lighting them. Want to try a creative silhouette? Shoot with the window behind your subject and tap your finger on the light area of the window.
Turn baby's face toward the light
Watch how the light falls across your baby. If there are crazy shadows, turn baby till the shadows are gone.
Light too strong? Back away from the light.
Not enough light? Get closer.
Pay attention to the background.
You may not want the messy tray table in your memories.
Get low & close.
Those tiny features make impactful photos. And you'll want to remember how small they were! Don’t be afraid to fill the frame, especially if you can’t move things from the background (see #6).
For flattering mom shots, Sit your bed up, or move to a chair.
Reclined beds lead to double chins.
Relax! Don't worry about posing.
Just love on your baby and it will be beautiful.
Make the bed!
Nothing more simple than a nicely smoothed blanket to make your birth photos a bit nicer.
Don't shoot up baby or mom's nose.
Shoot from the forehead down or the side.
Be sure to get a family photo
Ask a nurse for help, they’re happy to snap a few shots for you. They’re the best swaddlers around, too! And don’t forget to grab photos of baby and partner.
Edit your photos in the Lightroom Mobile App
Whether you use a preset or just adjust the exposure and white balance, it’s will give your photos a more finished look. When in doubt, turn it black & white.

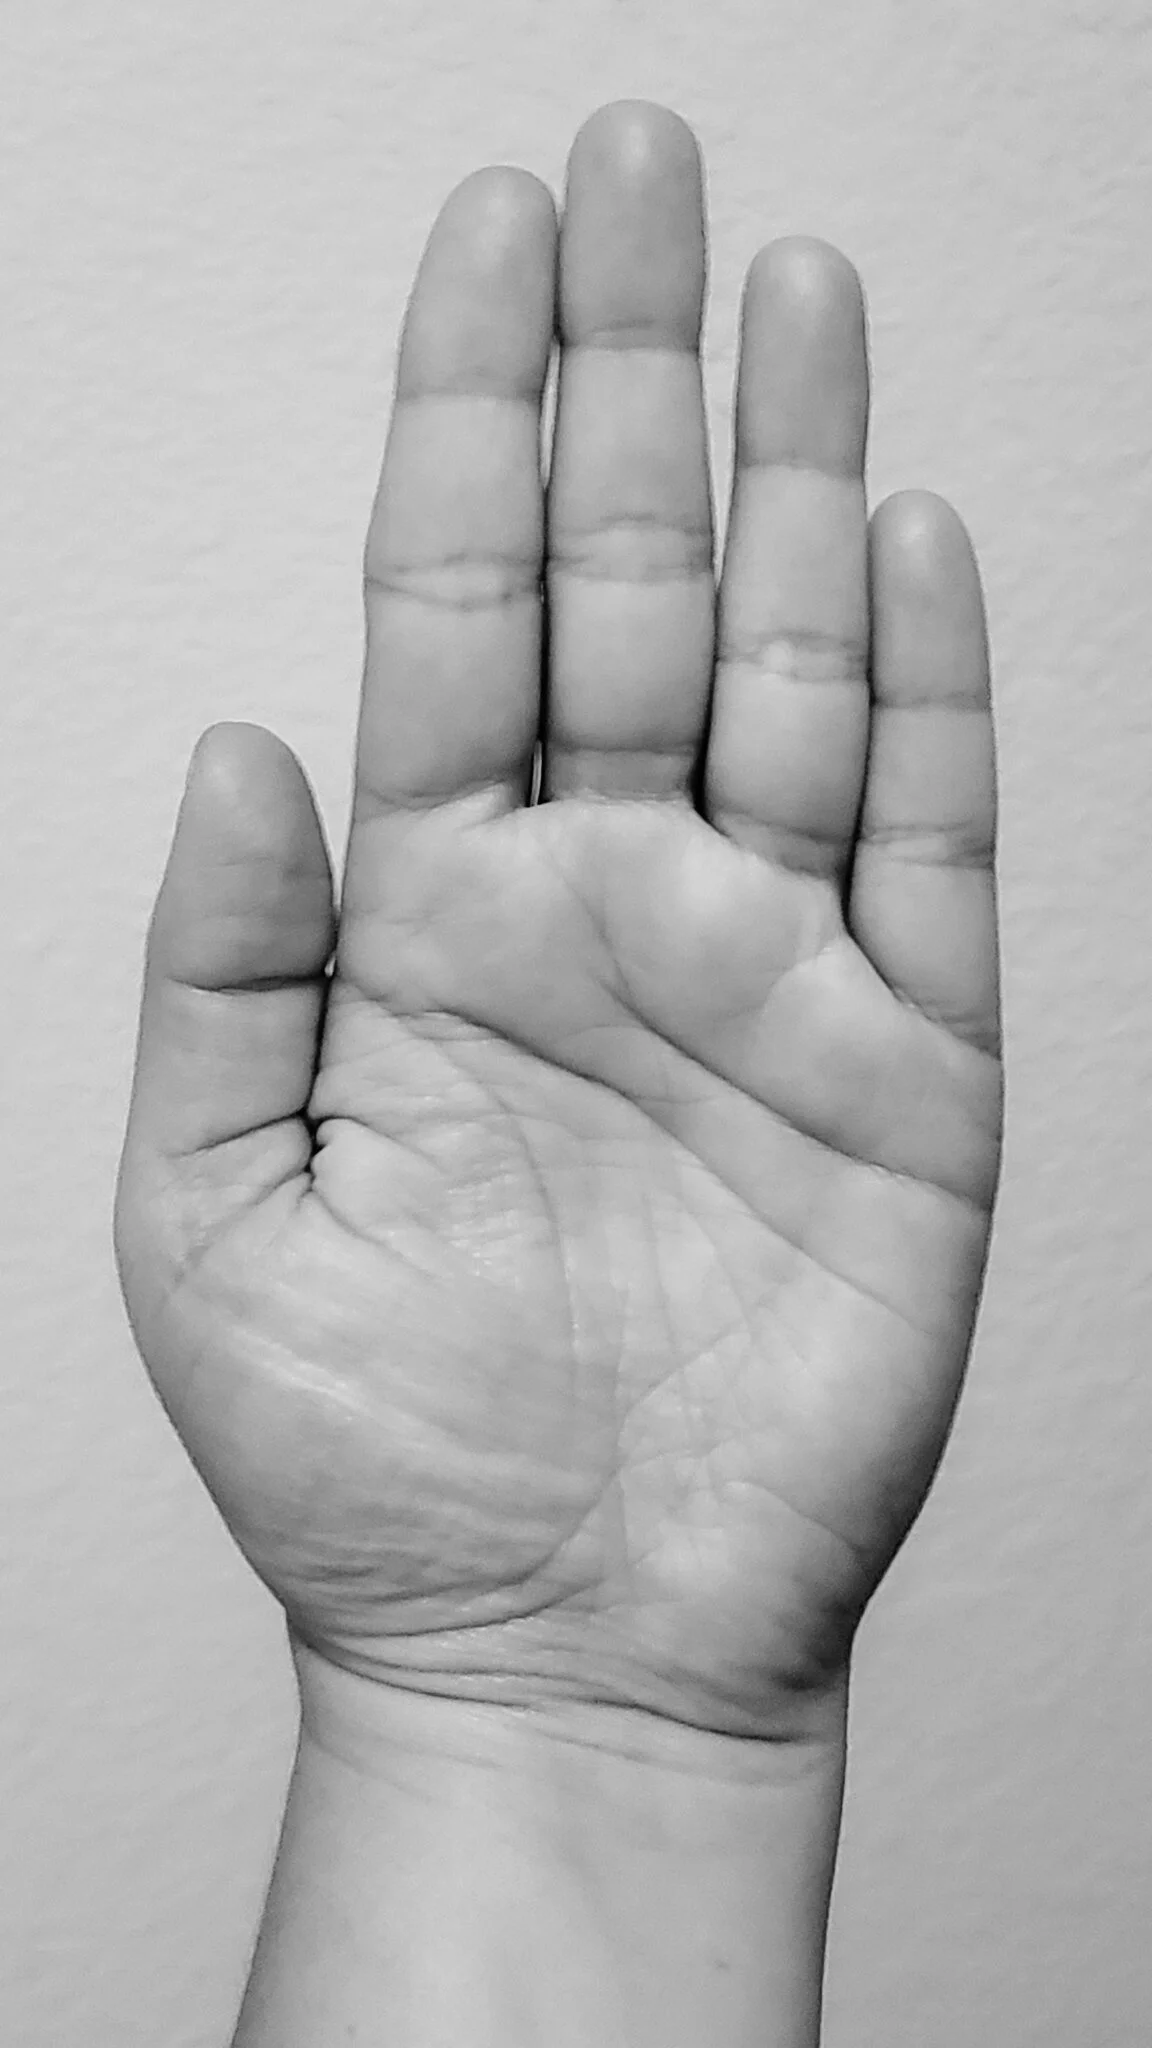
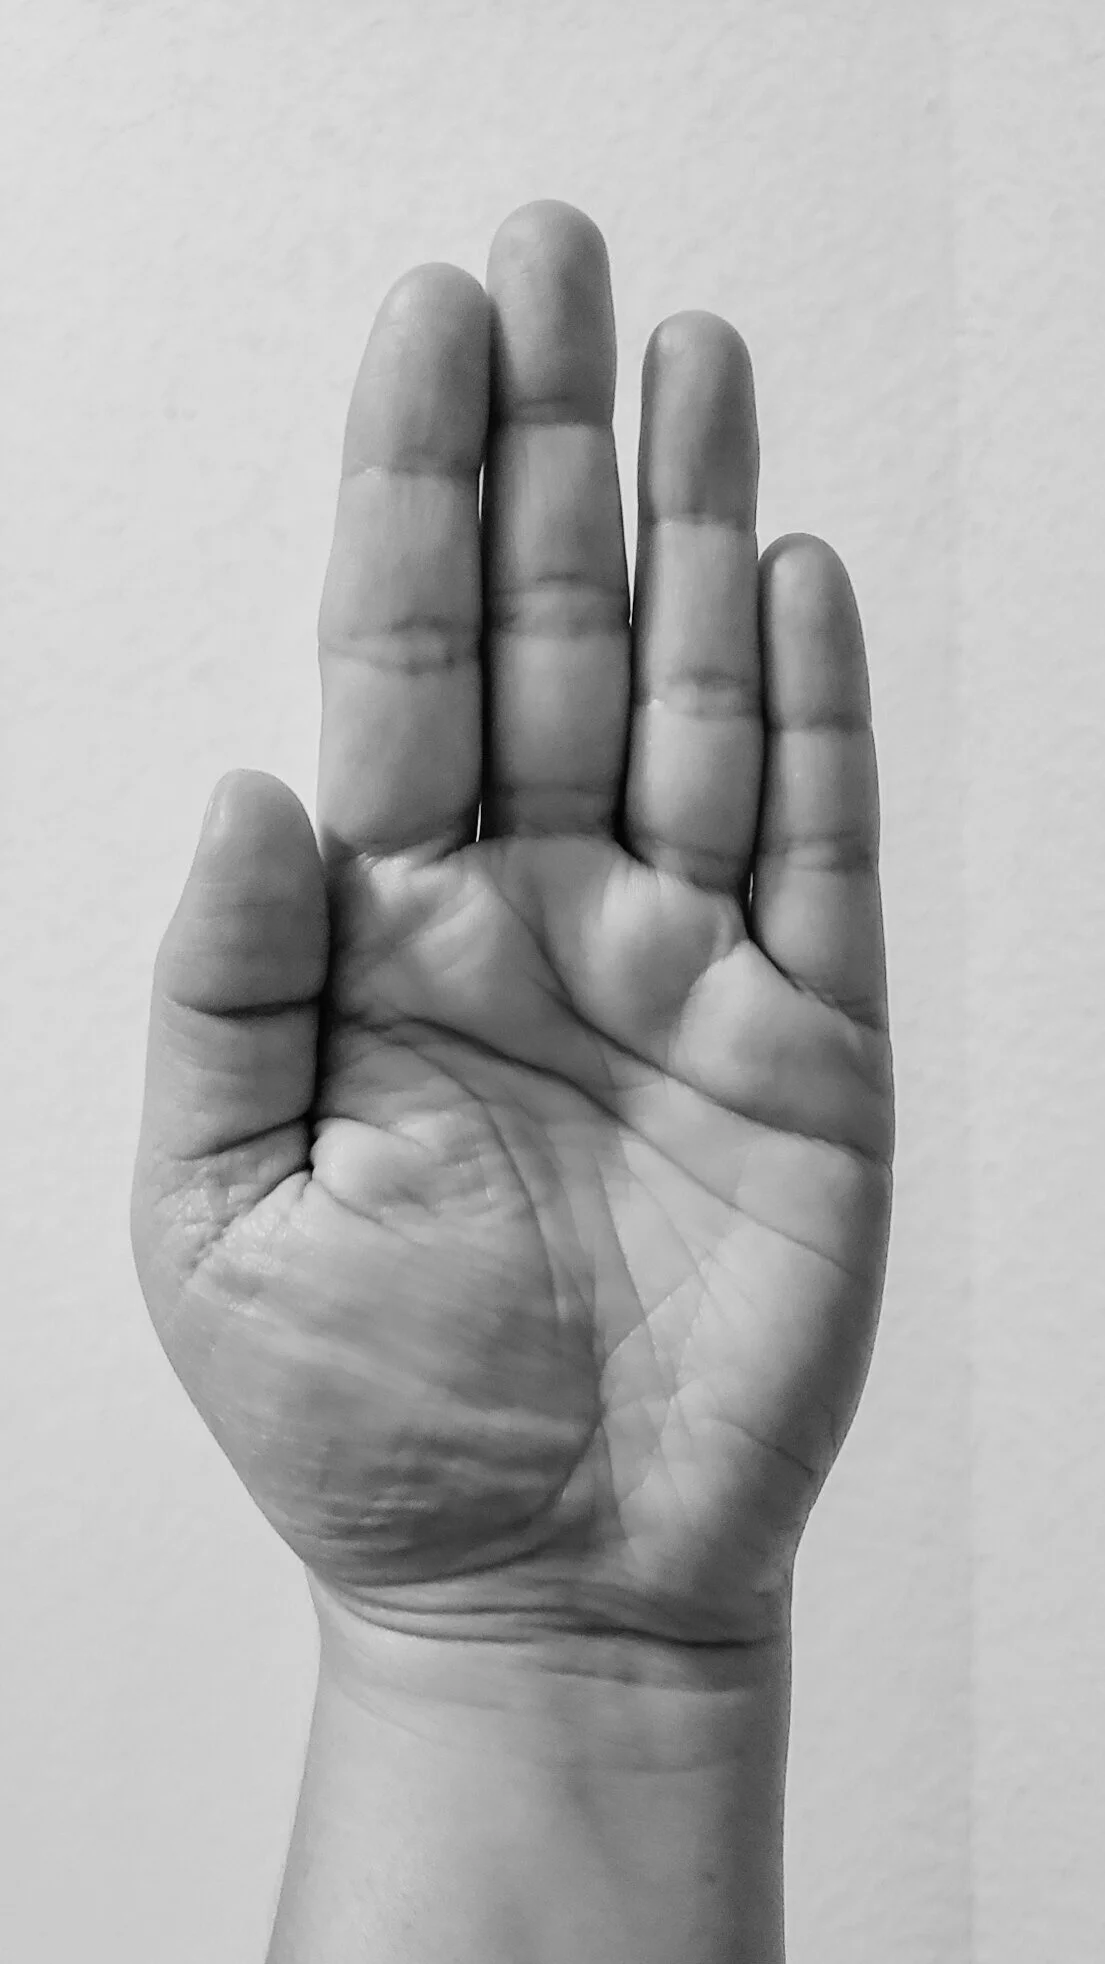
{ Pro Tip } The Hand Trick
To find the good light with any light any where, put your hand in the air, and wave it like you just don’t care. Then slowly turn around to see how the light falls on your palm. Stop when it looks BEST with the least shadows. Position your subject with their face facing that same direction as your palm.